Video & LED walls · Practical guide
LED Walls on Camera: Separate Moiré from Flicker and Scan Lines
Plan camera, lens, subject position and LED processing tests before accepting a wall for recorded presentations.
YKCA Journal · 5 min read · Updated October 3, 2026
Start here
A wall that looks clean to the audience may still need camera-specific evaluation.
Describe the artifact before adjusting the wall
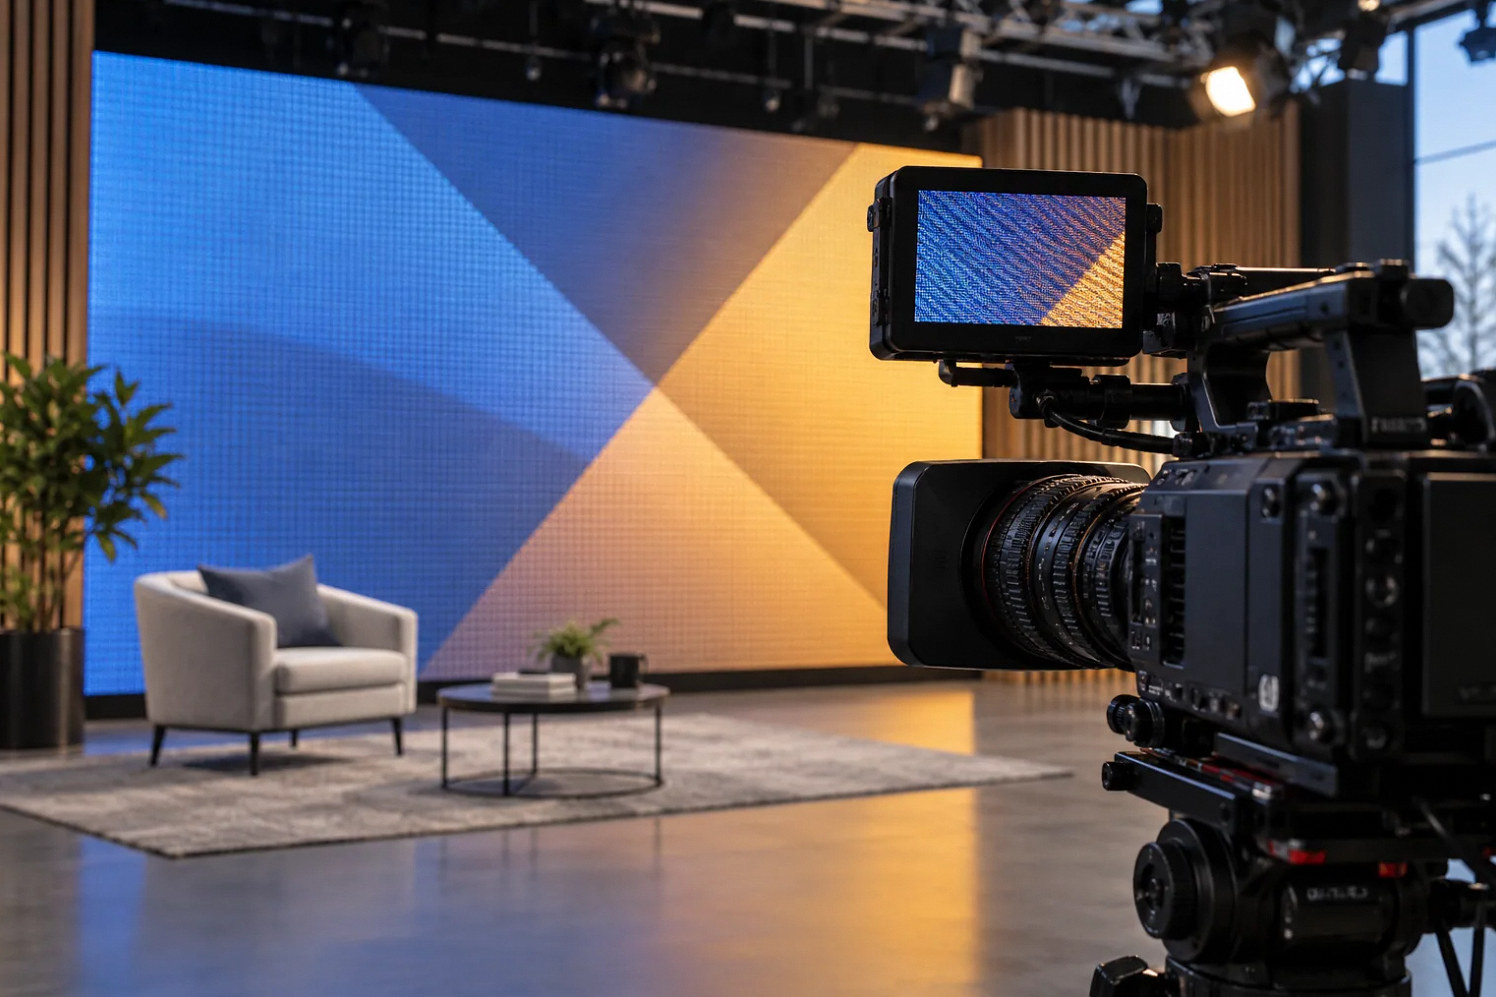
Photograph or record the issue under controlled test conditions and note whether it is a stationary pattern, a moving band, a color fringe or another defect. Include the camera, lens, focal length, exposure settings, wall content and processor mode. Different visible artifacts can occur at the same time, so a vague report of flicker encourages the wrong fix. Record whether the pattern changes with camera position, focus or zoom. Compare the wall directly and through the recorded camera output before selecting the next test.
Understand the spatial and timing distinction
Brompton explains moiré as interaction between the LED pixel grid and the camera’s sensor grid. Changing the relationship among camera, lens, focus and subject can affect that appearance. Its separate ShutterSync documentation addresses LED refresh timing on supported Tessera processors. A timing tool is not a universal cure for a spatial interference pattern. Likewise, changing focus does not certify all shutter-related behavior. Ask the vendor to identify which artifact each proposed adjustment addresses and to demonstrate the result on the selected equipment. Avoid treating the phrase camera-ready as a complete performance specification without the actual shot requirements.
Reference: Brompton: Let’s Talk About Moiré · Brompton: ShutterSync
- Pattern type
- Camera geometry
- Refresh timing
- Final output
Define the shots that matter
List the expected camera positions, tight and wide framing, presenter movement and background content. Include both a person in front of the wall and any shot that intentionally focuses on the wall itself. The latter can be a harder requirement because simply softening the background may no longer be acceptable. Determine how much separation the room permits between subject and wall. A camera demonstration in a large showroom may use distances unavailable on the finished stage. Record those constraints before procurement so a successful demonstration can be reproduced rather than remembered only as an attractive vendor presentation.
Reference: Brompton: Let’s Talk About Moiré · Brompton: ShutterSync
Evaluate a corporate-studio setup
Suppose a speaker stands close to the wall and the planned tight shot reveals a visible pattern behind their face. During a mockup, the production team compares feasible subject positions and lens framing while keeping the speaker properly focused. They also test background graphics with fine repeating detail and simpler designs. If the needed shot remains unacceptable, revisit the wall specification or layout before purchase. The valuable result is a documented combination that works within the actual production constraints.
Coordinate camera settings with the full production
A setting that improves the wall may affect motion appearance, exposure or matching among cameras. Review proposed changes with the person responsible for the recording or livestream. Test any supported synchronization features according to the camera and processor documentation. Preserve the accepted settings and note features that depend on specific hardware or software versions. Check the final program recording as well as individual camera previews. Scaling and subsequent processing can change what viewers see. If multiple cameras are used, run them together rather than assuming one passing camera establishes compatibility for every sensor and lens combination.
Accept an operating envelope, not a slogan
Build the acceptance matrix around agreed camera positions, framing, content and output formats. Include the range of shots the owner expects to use and identify any intentionally excluded combinations. Save example test clips that contain no private event content. Provide a short production guide stating the approved wall and camera settings and who may change them. Future camera purchases or a redesigned stage should trigger a compatibility check. An LED wall can be an excellent visual surface while still imposing production constraints; documenting those constraints early is more useful than promising that every possible shot will remain artifact-free.
For LED video wall installation planning, request a camera test before making acceptance depend on a marketing demonstration. Write the planned lens and framing range into the evaluation brief, alongside the available subject-to-wall separation and representative background graphics. Have the production team identify which compromises are acceptable: a softer background may suit an interview but fail a presentation where the wall carries readable figures. If no feasible combination meets both requirements, show separate options for the owner to compare. The answer may involve staging, content design, camera choices or a different display specification. What matters is making that tradeoff visible while the layout and equipment can still be revised without undoing finished work.
Compare the next steps
A decision table for this problem
| Visible issue | Comparison to make | Scope boundary |
|---|---|---|
| Fine repeating pattern | Lens, position and focus relationship | Spatial moiré investigation |
| Rolling or horizontal bands | Camera and LED timing settings | Refresh/synchronization investigation |
| Color fringes near focus | Lens and camera comparison | Do not assume wall electronics alone |
| Clean wide shot, poor close shot | Approved framing range | Shot-specific acceptance |
| Preview clean, stream poor | Final encoded output | Downstream scaling and processing |
Use this in the room
Your working checklist
Common questions
Does a smaller pixel pitch guarantee no moiré?
No universal guarantee follows from pitch alone. The camera sensor, lens, distance and framing also matter, so test the required combinations.
Can we blur the wall slightly?
That can be an option when the subject remains sharp and the background design allows it. It may be unsuitable when viewers must read detailed content on the wall.
Should we use one camera for acceptance?
Use every required camera type and meaningful lens/framing combination. Different cameras can behave differently even when pointed at the same wall.
Read the original guidance
Sources and discussion context
Research used primary documents and, where full text was unavailable, indexed excerpts from official sources. A citation does not mean the complete document was accessible. Product behavior depends on the actual model, configuration and documentation. Confirm the requirements for your venue before changing the installation.
Reader problems behind this guide
These Reddit discussions helped identify the practical question. They are individual experiences, not technical authority or a measure of how common the problem is. Examples and diagrams illustrate planning decisions; they are not records of completed YKCA projects or installation drawings.
- LED Wall has bad artifacts in camera. Any ideas on how to fix this?
Artifacts changed with focal length even though shutter and brightness changes did not resolve them.
Research access: search excerpt only.
Keep the whole system in view