
Reconstruction · 6 min read
Before the Rebuild Is Called Complete: A Practical Closeout Review
Review finishes, function, inspections, and unresolved items before signing reconstruction completion documents.
YKCA · References checked 2026-10-03
Start with the essentials
Three decisions to document
At a glance
Three things to keep in view.
Inspect
Compare scope, function, and finish.
Resolve
Assign each open item and follow-up.
Archive
Keep accurate completion and inspection records.
The key point
Compare the finished work with the signed scope, record specific unresolved items, and keep construction acceptance distinct from insurance paperwork.
The floors and cabinets are installed, but a drawer binds, the sink connection has not been checked with the owner present, and an inspection document is missing. The contractor calls the project complete. A focused closeout review separates unfinished work, workmanship concerns, missing records, and new damage so each issue gets the right response.
Related service: Reconstruction questions and planning
Bring the scope to the walkthrough
Use the signed contract, approved changes, product selections, and any agreed sample records. Walk room by room using the same names as the estimate. Check whether each promised activity was completed before debating how the room feels overall. A marked scope makes omissions easier to identify and discuss.
Take photographs from consistent locations and note the date. Record a specific observation such as an unfinished baseboard joint or a missing cabinet shelf. Do not rely on broad descriptions like “poor finish.” Clear observations help the contractor propose a correction and reduce the chance that a later visit fixes the wrong location or repeats work already accepted.
Arrange the walkthrough when the responsible project contact can participate and the rooms can be viewed normally. A rushed visit while protective coverings hide the floor or another crew is still working may be suitable for progress review but not final finish acceptance. Ask which portions are ready to inspect and which will be reviewed later. Keep a separate list of owner maintenance instructions, such as product-specific care or the date a finish can return to normal use, so those notes do not obscure actual defects. The list should distinguish work still owed from ordinary care the owner must perform after a completed installation.
Distinguish appearance from function
Review finish transitions, paint sheen, trim, flooring edges, and cabinet alignment under ordinary room lighting. Then ask the relevant trade to demonstrate the operation of installed or reconnected fixtures. A pleasing photograph cannot establish that a sink connection, appliance installation, or electrical device is properly completed.
Keep the review within your competence. Do not remove electrical covers, open hazardous assemblies, or conduct improvised leak tests. If there is an active leak, burning smell, or other unsafe condition, stop normal use and contact the appropriate professional promptly. A remote checklist cannot certify workmanship, building safety, or the suitability of an installation.
Check the required inspections and records
Ask which permits applied, which inspections were required, and what their current status is. Request the actual inspection record or instructions for checking it with the jurisdiction. A contractor's completion letter and an authority's inspection approval are different records. Missing documentation deserves a named follow-up, even when the room looks finished.
CSLB's contract guidance emphasizes permit responsibility and a defined completion date. Compare that agreement with the closeout package. Collect installed product information, care instructions, and warranties actually issued. Avoid assuming a broad warranty exists because the contractor verbally said it would take care of things. Keep the responsible business name and a practical contact method with each record.
Sources for this section
Create a short, actionable punch list
For each unresolved item, record room, location, observation, agreed action, responsible contact, and expected follow-up. Distinguish a request still being reviewed from a correction the contractor has accepted. Attach only the photographs needed to identify the condition. Long message chains are harder to act on than a clean list.
Prioritize items that affect safety, function, protection from further damage, and normal use. Group cosmetic corrections where a single visit can address them efficiently. Ask what access is needed and whether belongings should stay clear of the work. A practical list includes a path to completion, rather than simply expressing dissatisfaction with the overall experience.
Treat a new leak as a new documented event
If damage occurs during installation or after an area was previously completed, record when it was discovered and what work was happening. Preserve earlier completion photographs and report the new condition promptly. Ask the appropriate professional to control the source and assess the affected area before finishes are closed again.
Do not simply merge the new damage into the old punch list. The facts, responsible parties, and insurance questions may differ. You do not need to decide liability immediately to keep the records distinct. Label the event consistently and avoid speculating about causes beyond what you observed or what a qualified investigation establishes.
Review what each signature actually states
A delivery receipt, contractor completion acknowledgment, insurer form, and release can have different purposes. Read the document and identify any statement that all work is satisfactory or all claims are resolved. If that is not accurate, ask for a correction or advice before signing. Do not sign a blank document to help someone finish billing.
The CDI claims guide cautions about settlement offers requiring a release of further liability. That is a reason to understand the actual paper in front of you, not a reason to assume every ordinary completion form is improper. Ask the insurer which records it needs and describe unresolved construction items accurately. One signature should not hide several different decisions.
Sources for this section
California Department of Insurance: Residential Property Claims Guide (2025)
Close the file when the evidence catches up
After corrections, photograph the completed items and mark their status in the list. Retain the final contract balance, payment receipts, inspection records, and any written reservations or remaining agreements. If an item remains disputed, identify it specifically rather than labeling the entire project finished without qualification.
For the illustrative kitchen, the file might close after the drawer is adjusted, the connection is checked by the responsible trade, and the inspection record is supplied. Then archive the records somewhere you can retrieve them without the contractor's portal. A usable closeout file helps with maintenance, later insurance questions, and an accurate account of what was actually repaired.
Label any follow-up visit by the items it is intended to resolve. After the visit, compare the result with that list so a missed correction receives another date instead of disappearing from the discussion.
Common questions
Should I sign a completion form with unfinished work?
Read what it certifies. Ask for an accurate version that identifies unresolved items, and obtain advice if it includes a release you do not understand. The correct response depends on the actual document.
Is a passed building inspection the same as accepting every finish?
No. Compare finishes and scope completion separately with the contract and approved selections. Keep inspection status, workmanship concerns, and owner acceptance as distinct records.
Sources and further reading
References checked 2026-10-03. Guidance depends on the loss, affected materials, scope of work and property conditions.
The homeowner question behind this guide
These public discussions informed the questions addressed here. Personal experiences and comments are not technical findings or proof of insurance coverage.
Discuss the next step for your property.
Share what happened, which areas are affected and the decisions you need help with.
Discuss reconstructionRelated decisions
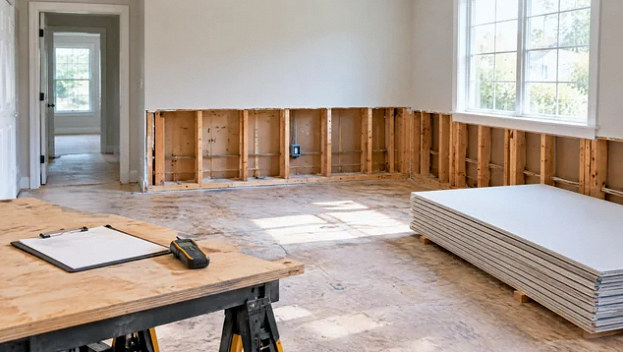
Materials and repairs · 5 min read
Before Rebuilding: How to Review the Drying Handoff
Ask for final material readings, remaining limitations, source-repair records, and a clear handoff before new finishes cover the work.
Read the guide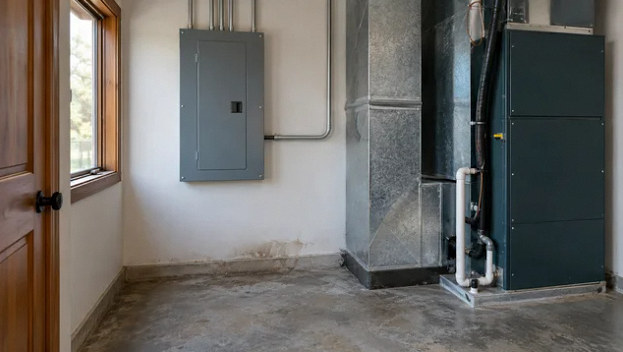
Materials and repairs · 3 min read
Wet HVAC and Electrical Equipment: Who Needs to Inspect It?
Separate building drying from the assessment of heating, cooling, wiring devices, and equipment exposed to water.
Read the guide