

SMART HOME
Smart Home Wiring: What Every New Homeowner Should Know
Published May 5, 2026 · 8 min read
Smart home technology has moved from novelty to necessity for many Bay Area homeowners. Automated lighting, voice-controlled thermostats, video doorbells, and whole-home audio are no longer luxury features but everyday conveniences that also increase property value and energy efficiency. However, the foundation of every reliable smart home is the wiring behind the walls. Getting the infrastructure right from the start saves thousands of dollars in future retrofit costs and prevents the frustrating connectivity issues that plague homes built without smart technology in mind.
Whether you are buying a new home, renovating, or building from scratch, this guide covers the essential wiring decisions that will determine how well your smart home performs for the next 20 years.
Start with a Structured Wiring Panel
A structured wiring panel (also called a media panel or network enclosure) is the central hub where all low-voltage wiring converges. Typically installed in a utility closet, garage, or basement, this panel houses your network switch, patch panel, cable modem, and any other distribution equipment. Every data cable, coaxial run, and smart home hub connection terminates here.
For a Bay Area home, we recommend a minimum 28-inch structured media enclosure with a ventilated cover. Smaller panels fill up quickly once you account for a router, switch, smart home hub, and cable management. A dedicated 20-amp circuit should power the panel and its connected equipment, separate from the general lighting and outlet circuits.
The structured panel approach gives you a single, organized location to manage and troubleshoot your entire home network. When something stops working, you know exactly where to look. Without it, network equipment ends up scattered across rooms, creating a tangled mess that is nearly impossible to maintain.
Cat6 vs. WiFi: Why Wired Still Wins
WiFi has improved dramatically, but it cannot match the reliability, speed, and latency of a hardwired Ethernet connection. For devices that demand consistent performance, including smart home hubs, security cameras, streaming devices, gaming consoles, and home office workstations, Cat6 cabling is the clear winner.
Cat6 cable supports speeds up to 10 Gbps over short distances and 1 Gbps up to 100 meters. It is also the backbone for WiFi itself: your wireless access points need wired backhaul connections to deliver their rated speeds. A home with only one WiFi router in the living room will have dead spots in the garage, backyard, and far bedrooms. A home with three hardwired access points provides seamless coverage everywhere.
We recommend running at least two Cat6 drops to each of the following locations:
- Every bedroom (for work-from-home setups and future devices)
- Living room and family room (streaming, gaming, smart TV)
- Home office (primary and backup connections)
- Kitchen (smart displays, connected appliances)
- Ceiling locations for WiFi access points (one per floor, plus outdoor)
- Garage (security cameras, EV charger network monitoring)
- Exterior eaves (IP security cameras, outdoor access points)
Running extra cable during construction or renovation costs very little compared to retrofitting later, when walls are closed up. A typical Bay Area home benefits from 20 to 40 Cat6 drops, depending on size and the homeowner's connectivity needs.
Dedicated Circuits for Smart Home Equipment
Smart home hubs, network equipment, and home automation controllers need clean, uninterrupted power. Sharing a circuit with a kitchen appliance or HVAC system means voltage fluctuations and potential outages every time a large motor cycles on. Dedicated circuits prevent these issues and protect sensitive electronics.
At minimum, plan for these dedicated circuits in a smart home:
- Structured wiring panel: One 20A dedicated circuit for all network and hub equipment
- Home office: One or two 20A circuits separate from bedroom lighting
- Home theater / media room: One 20A circuit for AV equipment, separate from lighting
- Security system: One dedicated circuit for NVR (network video recorder) and PoE switch
- Outdoor landscape lighting transformer: Dedicated circuit for low-voltage lighting systems
Battery backup (UPS) on critical circuits adds another layer of protection. A UPS on your network panel circuit keeps WiFi, security cameras, and smart home hubs running during brief power outages, which are not uncommon in parts of the Bay Area during storm season and PSPS events.
Smart Lighting: Lutron Caseta and Control4
Lighting is the most visible and impactful smart home upgrade. The two systems we recommend most for Bay Area homes are Lutron Caseta and Control4, each serving different needs and budgets.
Lutron Caseta is the gold standard for reliable smart lighting at a moderate price point. It uses a proprietary wireless protocol called Clear Connect that operates on a dedicated radio frequency, independent of your WiFi network. This means your lights respond instantly even when the internet is down. Caseta integrates with Apple HomeKit, Google Home, Amazon Alexa, and most smart home platforms. A typical whole-home Lutron Caseta installation with 15 to 25 switches runs $2,500 to $5,000 installed, depending on the number of dimmers, remotes, and scenes.
Control4 is a professional-grade automation system for homeowners who want centralized control of lighting, audio, video, climate, shades, and security from a single interface. Control4 requires professional programming and is typically installed during new construction or major renovation. It supports keypads, touchscreens, voice control, and mobile apps. Pricing varies widely by scope: entry-level targeted installations focused on lighting and basic audio start around $5,000–$15,000, mid-size whole-home Bay Area packages with lighting, audio, climate, and security integration typically run $20,000–$50,000, and large estate installations with home theater and extensive AV distribution can exceed $75,000.
Regardless of the system, the wiring preparation is similar: ensure neutral wires are present at every switch location (required by code in new construction and by most smart switches), and pre-wire for keypads and touchscreen locations where applicable.
Voice Control Integration
Amazon Alexa, Google Home, and Apple HomeKit have become the primary interfaces for controlling smart home devices. Planning for voice control means considering speaker and display placement throughout the home. Built-in ceiling speakers connected to a smart amplifier provide a cleaner look and better audio than countertop smart speakers scattered around the house.
For new construction or renovation, pre-wire speaker cable (16-gauge or 14-gauge) to ceiling locations in the kitchen, living areas, master bedroom, bathroom, and outdoor entertaining spaces. A centralized amplifier in the structured wiring panel drives all speakers and integrates with your voice assistant of choice.
Security Camera and Doorbell Wiring
Power-over-Ethernet (PoE) cameras are far more reliable than WiFi-only cameras. PoE delivers both power and data over a single Cat6 cable, eliminating the need for separate power supplies and WiFi connectivity at each camera location. Pre-wire Cat6 to planned camera positions at the front door, rear entry, garage, driveway, and side gates.
For video doorbells, run both a low-voltage doorbell wire (16-gauge, 24V transformer) and a Cat6 cable to the front door location. This gives you the option of using either a WiFi doorbell like Ring or a PoE doorbell like UniFi, depending on your preference. A dedicated 16V or 24V transformer on its own circuit ensures the doorbell has consistent power.
Future-Proofing Your Investment
Smart home technology evolves rapidly, but the physical wiring infrastructure lasts decades. Here are our recommendations for future-proofing:
- Run conduit, not just cable: In long or difficult-to-access runs, install conduit so new cables can be pulled later without opening walls.
- Use Cat6A for new construction: Cat6A supports 10 Gbps at full 100-meter distances, future-proofing for faster network standards.
- Pre-wire for motorized shades: Run power (14/2 Romex) and low-voltage control wire to window header locations, even if you are not installing shades immediately.
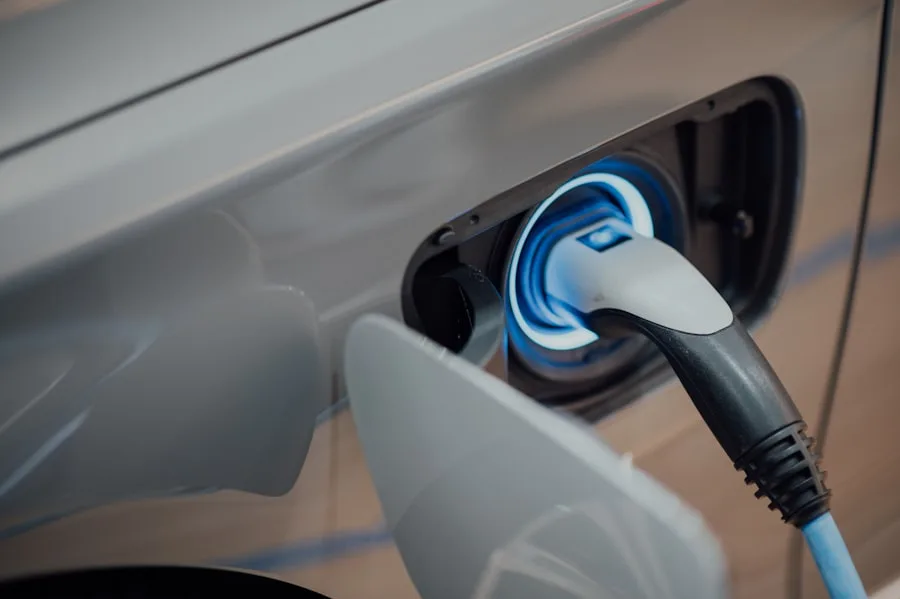
- Plan for EV charger circuits: Run a 50A circuit to the garage during construction, even if you do not own an EV yet.
- Label everything: A well-labeled patch panel and circuit directory saves hours of troubleshooting for every future technician who works on your home.
The cost difference between running extra cables during construction versus retrofitting later is dramatic. An additional Cat6 drop during open-wall construction costs $50 to $100. The same drop in a finished home can cost $300 to $500 due to the labor of fishing cable through closed walls and ceilings.
Get Expert Help with Your Smart Home Wiring
YKCA specializes in smart home wiring and automation for Bay Area homeowners. Whether you are building new, renovating, or upgrading an existing home, our team designs and installs structured wiring systems, smart lighting, security camera infrastructure, and whole-home automation. We work with Lutron, Control4, Sonos, and all major platforms.
Call us at (650) 550-0819 or request a consultation to discuss your smart home project. We will help you plan the right infrastructure for your needs and budget.
← Back to News & TipsNeed Professional Help?